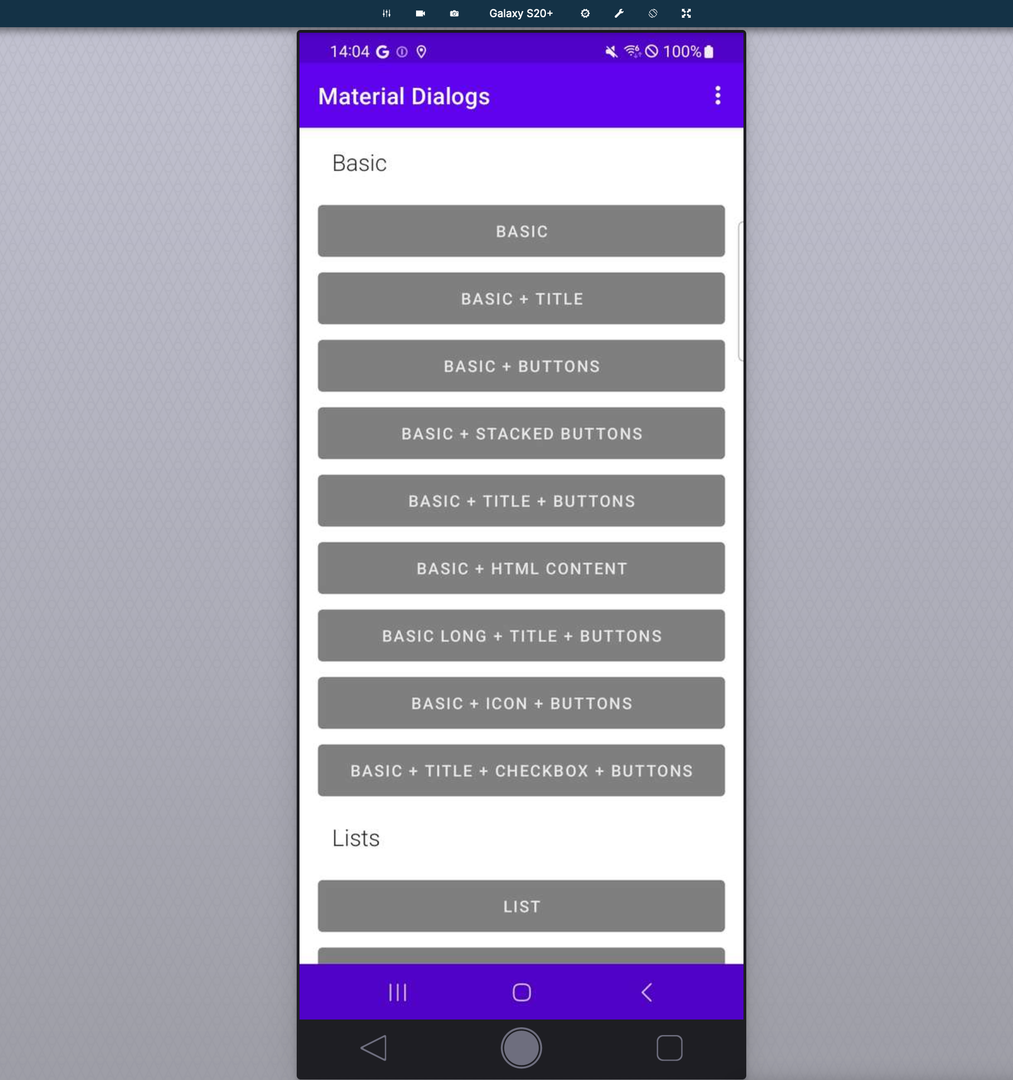
Use Appium Inspector
Appium Inspector lets you inspect an app’s UI hierarchy, interact with elements, and find locators for Appium tests. In webmate, you can start Appium Inspector directly from the Workbench when you are using a mobile device that is enabled for automation.
You can use Appium Inspector with webmate in two ways:
- Start Appium Inspector from the Workbench for an already deployed mobile device.
- Connect the desktop Appium Inspector application manually to the webmate Appium endpoint.
For most interactive debugging sessions, start from the Workbench. The manual connection is useful when you need a locally installed Appium Inspector application or when you want to save a reusable desktop configuration.
Start Appium Inspector from the Workbench
Before you start, make sure that:
- You have opened a mobile device in the webmate Workbench.
- The device is enabled for automation.
- The app that you want to inspect is installed and ready on the device.
To start Appium Inspector from the Workbench:
- Open the project that contains your mobile device.
- Open the mobile device Workbench.
- If the app is not already installed, install it from the Workbench actions. See Manually Test an App for the installation workflow.
- Click the tool button in the topbar of the Workbench and select Appium Inspector.
- Wait until webmate opens Appium Inspector for the current device.
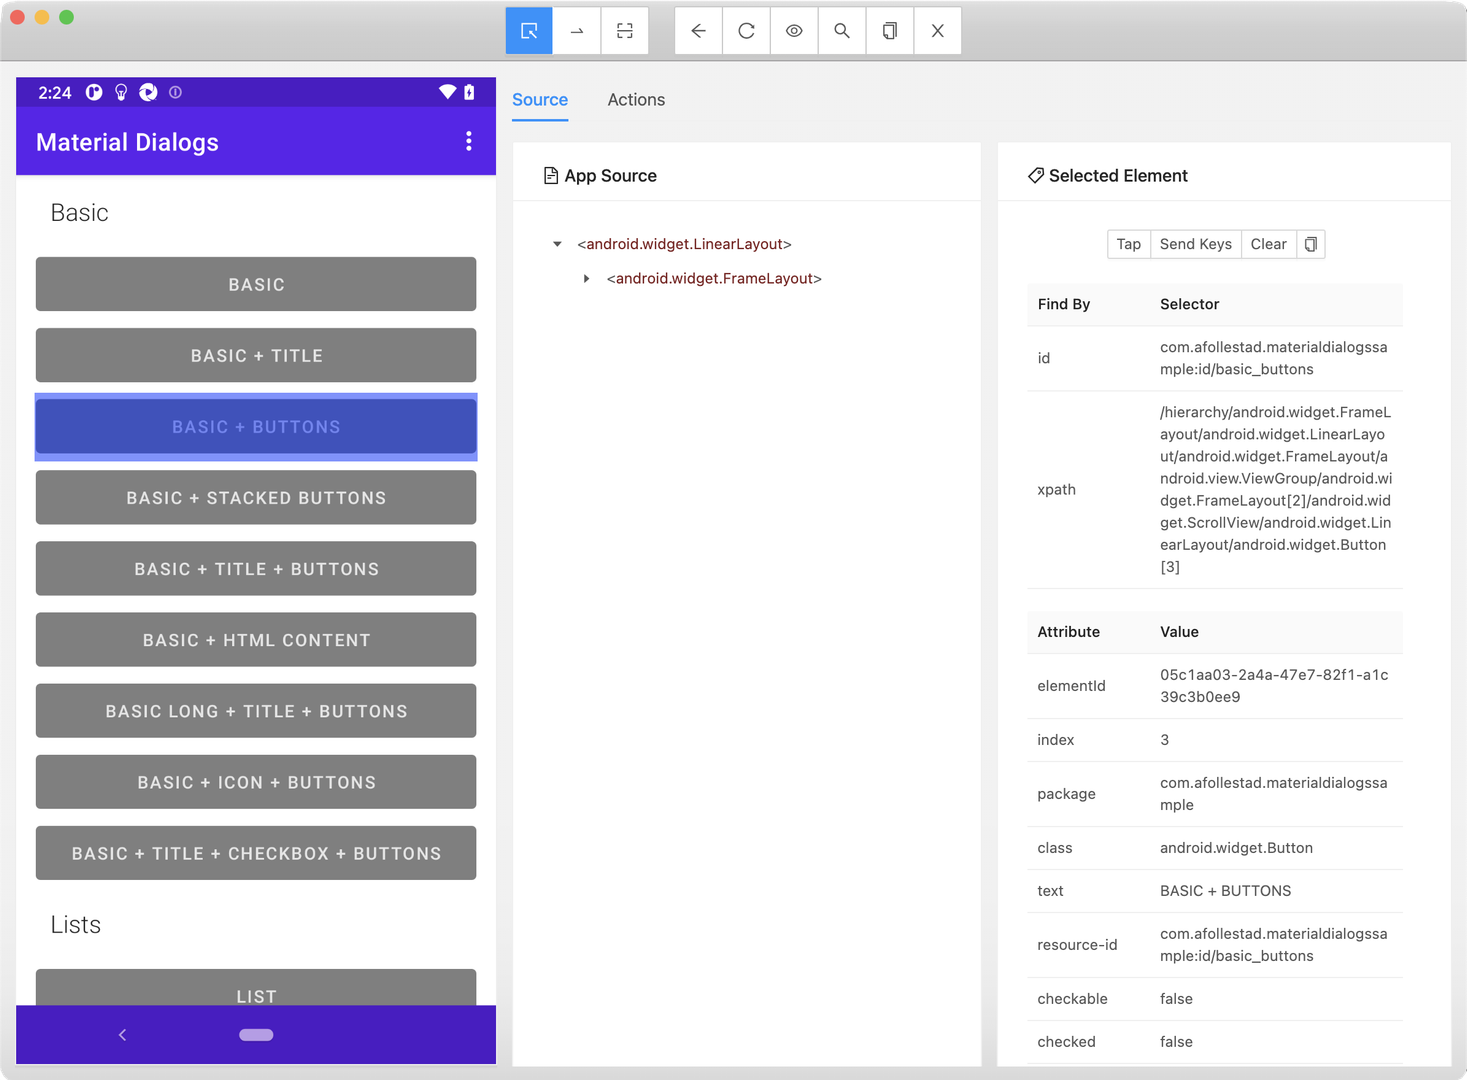
Appium Inspector shows the device screen together with the app source hierarchy. Select an element in the screenshot or source tree to inspect its attributes and build a locator for your Appium test. You can keep using the Workbench in parallel to bring the app into the state you want to inspect.
When you are done, close the Appium Inspector session. Release the device in webmate when you no longer need it.
Connect the Desktop Appium Inspector Application Manually
Appium Inspector is also available as an open-source desktop application for Mac, Windows, and Linux and can be downloaded from its GitHub repository (opens in a new tab) .
The desktop application is useful when you want to connect to webmate manually. It combines Appium-related tools in a graphical interface and can be used to analyze the UI of mobile apps installed on a webmate device.
Appium Inspector is made by the Appium development team. Developers and testers usually use it with local Android or iOS devices or simulators. It uses Appium for controlling devices, which means that it can also be used with the webmate mobile infrastructure.
Prepare a webmate Session
Start Appium Inspector. You should see a dialog similar to the one in the following screenshot:

Under “Remote Host”, enter selenium.webmate.io
(or a different host applicable to you).
Under “Remote Port”, enter 443 and check the “SSL” checkbox.
Under “Remote Path”, enter /wd/hub.
In the “Desired Capabilities” area,
you can configure the session with Appium capabilities in the same way as you would configure an automated test:
give your API key (in the wm:apikey capability),
enter the id of the project your device is running in (in the wm:project capability),
and add capabilities identifying your device (like platformName, browserName, and browserVersion).
You can use
the webmate capability configurator
to find the correct set of Appium capabilities.
See also our complete list of supported Appium capabilities
.
Under “Advanced settings,” you can also configure a proxy server if that is required in your network environment.
If you plan to use Appium Inspector more often, it may be a good idea to permanently save the configuration, which spares you from entering your user name and API key for every session.
The Appium Inspector session is now ready, and you can start it by clicking on “Start Session.”
Use the webmate Cloud Provider Tab
You can also use the webmate cloud provider tab instead of adding webmate-specific details manually in the “Appium Server” tab.
Open the tab labeled “Select Cloud Providers”. You should see a list of cloud providers, like so:
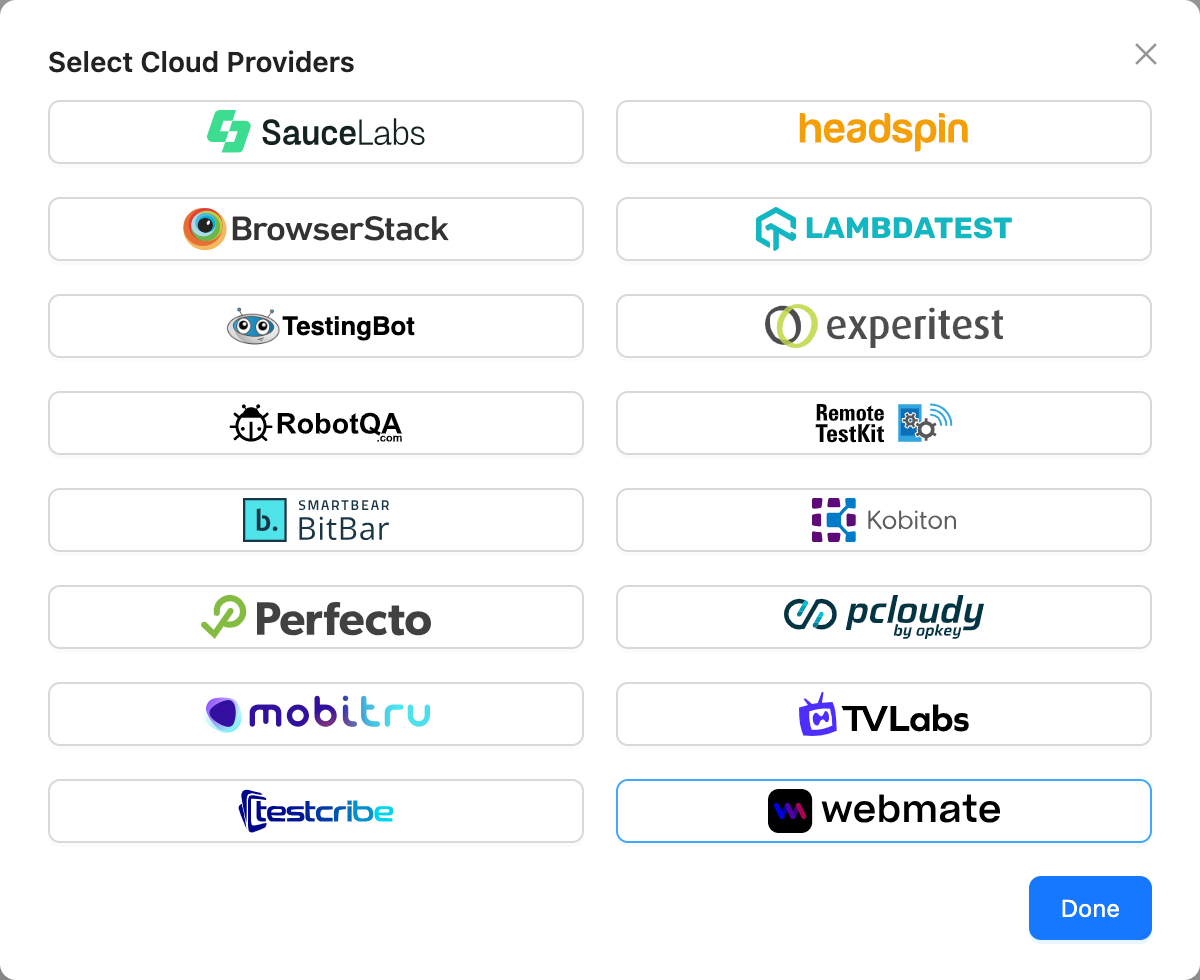
Click on the webmate logo. Then open the “webmate” tab. It should look similar to the following screenshot:
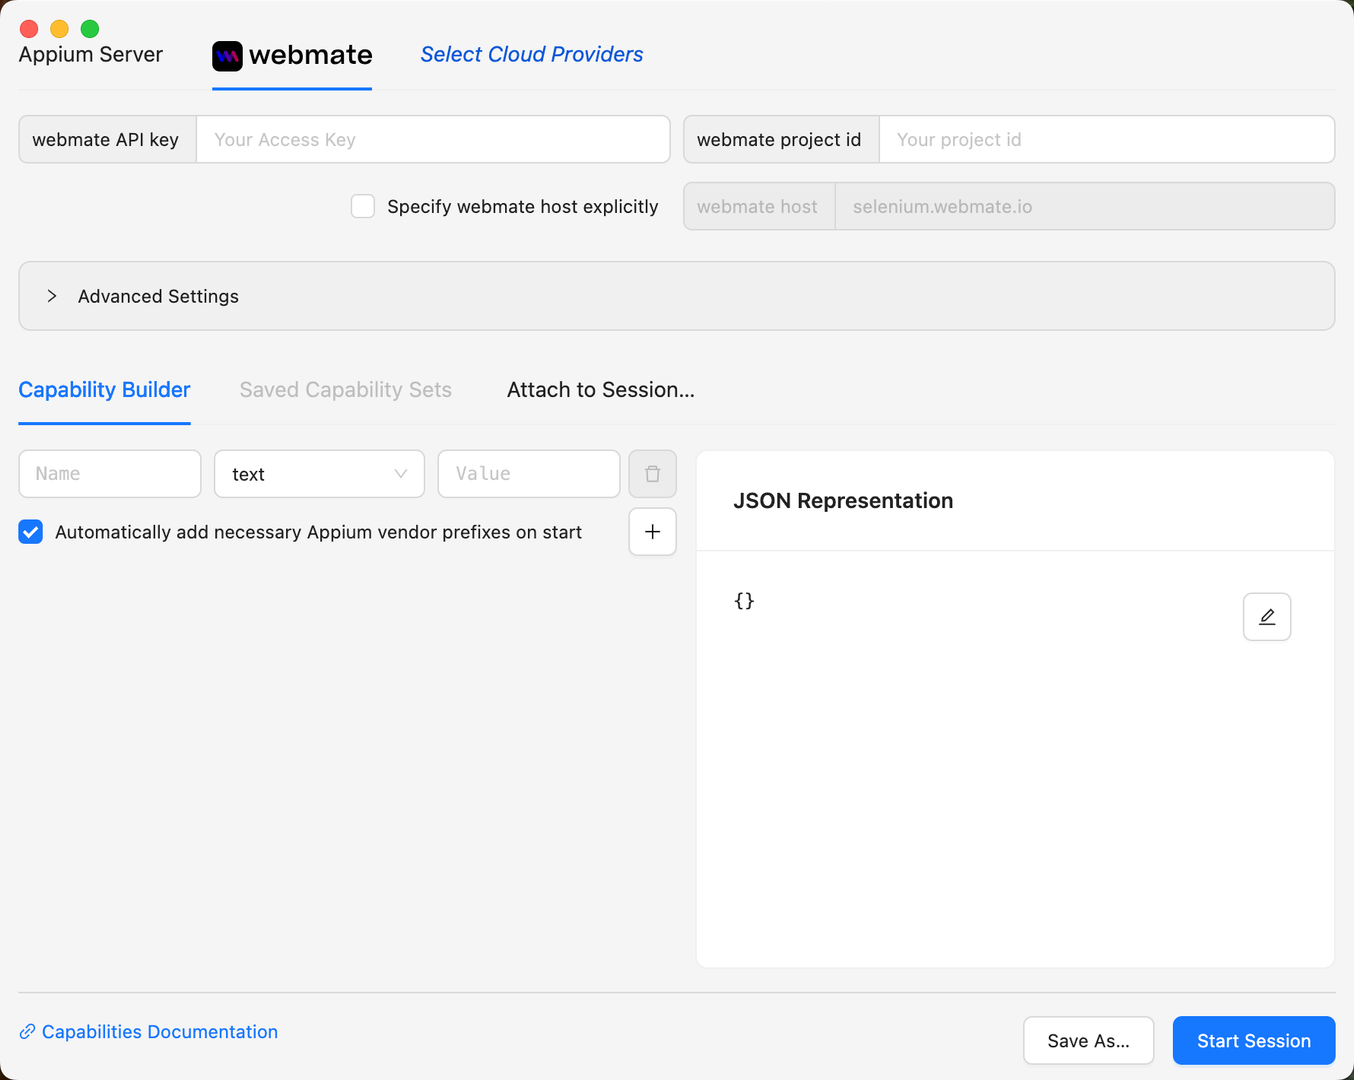
Enter your API key
and the id of the project your device is running in
into the corresponding input fields.
When you start a session now,
Appium Inspector will automatically set
the wm:apikey and wm:project capabilities
for you.
It will also set the remote path to /wd/hub,
set the remote port to 443,
activate SSL,
and set the remote host to selenium.webmate.io
(unless you enter a different host in the corresponding input field
after checking the checkbox).
Note that you still need to add capabilities identifying your device
(like platformName, browserName, and browserVersion)
in the “Capability Builder” area.
You can use
the webmate capability configurator
to find the correct set of Appium capabilities.
See also our list of supported Appium capabilities
.
Use the Inspector Tool
Starting the session may take a few seconds, after which Appium Inspector shows the Inspector tool window that lets you interact with the device, analyze UI elements, and execute Appium commands. Some commands are limited to simulated devices and therefore cannot be used with webmate.
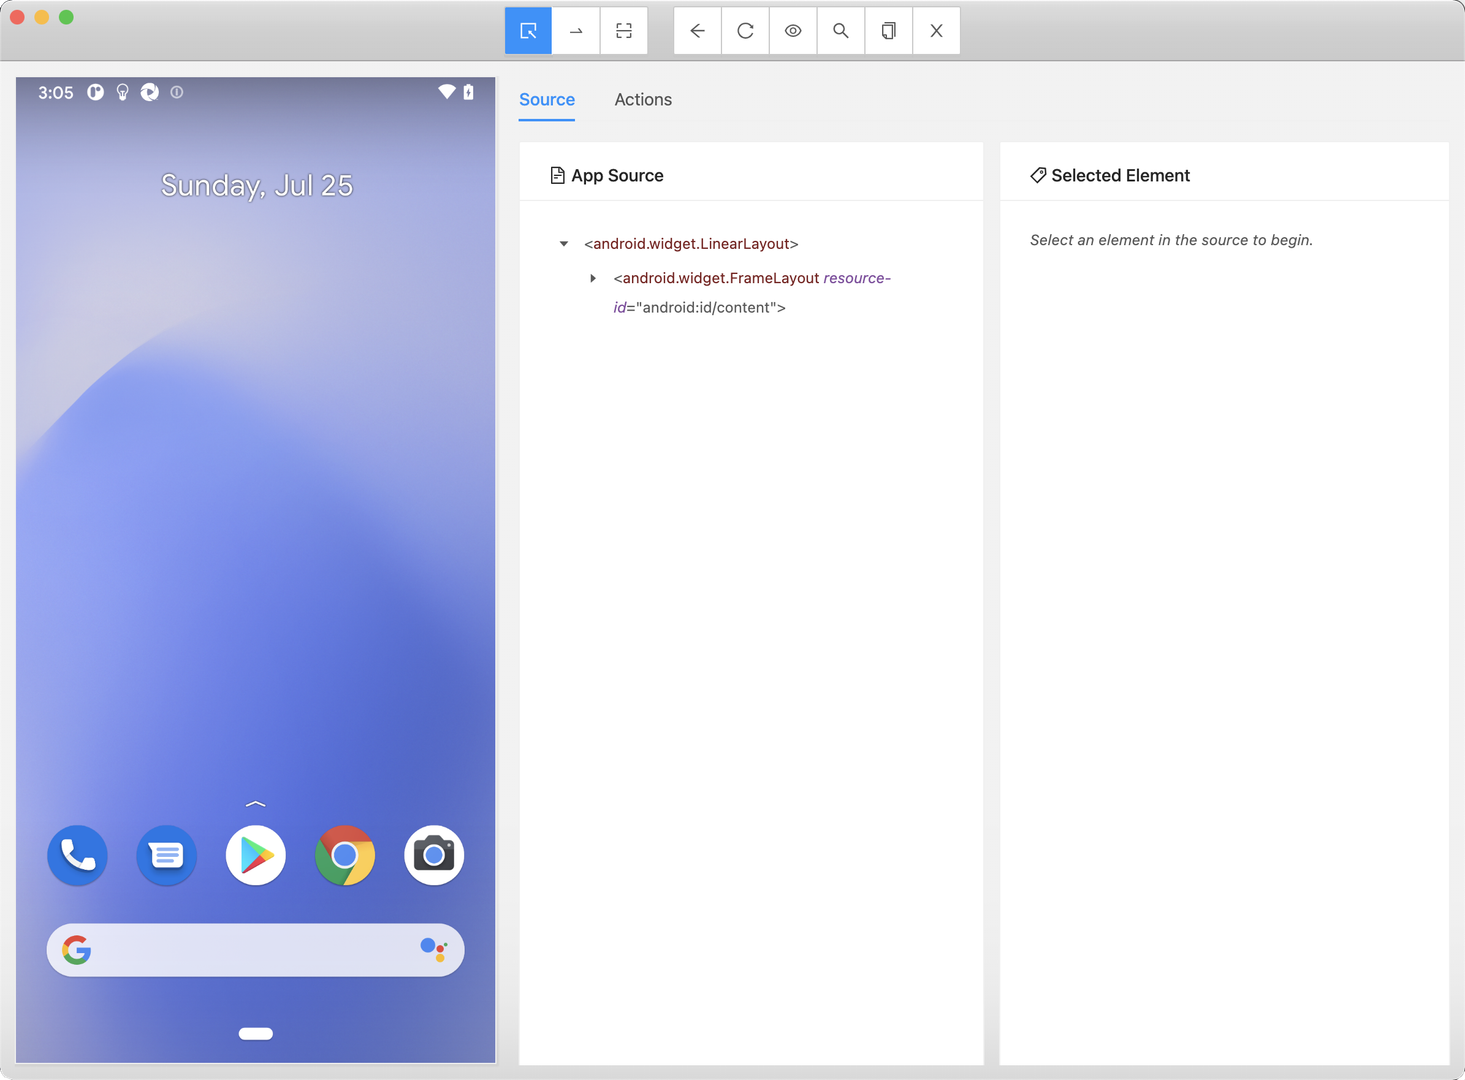
When you need to bring the device or an installed mobile app into a particular state, you can either simulate gestures and interactions directly using Appium Inspector, or, more conveniently, use webmate for this task. Most of the time, webmate and Appium Inspector coexist peacefully and you can use whatever works best for you.