Manage Root Certificates on iOS
Install and remove custom root certificates on an iOS mobile device.
When testing on internal test systems, it can often be necessary to install custom root certificates in order to access those systems.
Install a Custom Root Certificate
We assume that the certificate is hosted on some server that you can access via browser. Open Safari, navigate to the page, and initiate the download.

Confirm that you want to allow the download. After the download finished, iOS will show a confirmation.

Exit Safari using the home button and open the settings app. Navigate to the main menu. Just below your profile, there should be a new menu item named ‘Profile Downloaded’. Tap on it.

Verify that the certificate is the one you want to trust (1). Then tap the install button (2).

iOS may display warnings describing potential issues with the certificate. Tap the install button and confirm if you wish to proceed anyway.

After installing the profile, you still need to activate full trust for the Root CA. Open the settings app and go to General > About > Certificate Trust Settings. This menu is at the bottom of the About page. Activate the Root CA certificate there.
The certificate is now installed and trusted on your device. The verification status should show “verified”.
Remove Custom Root Certificate
To remove a custom root certificate, open the settings app and select “General”.

Select “VPN & Device Management”

A list of installed certificates is shown under “configuration profiles”. Select the certificate you wish to uninstall.

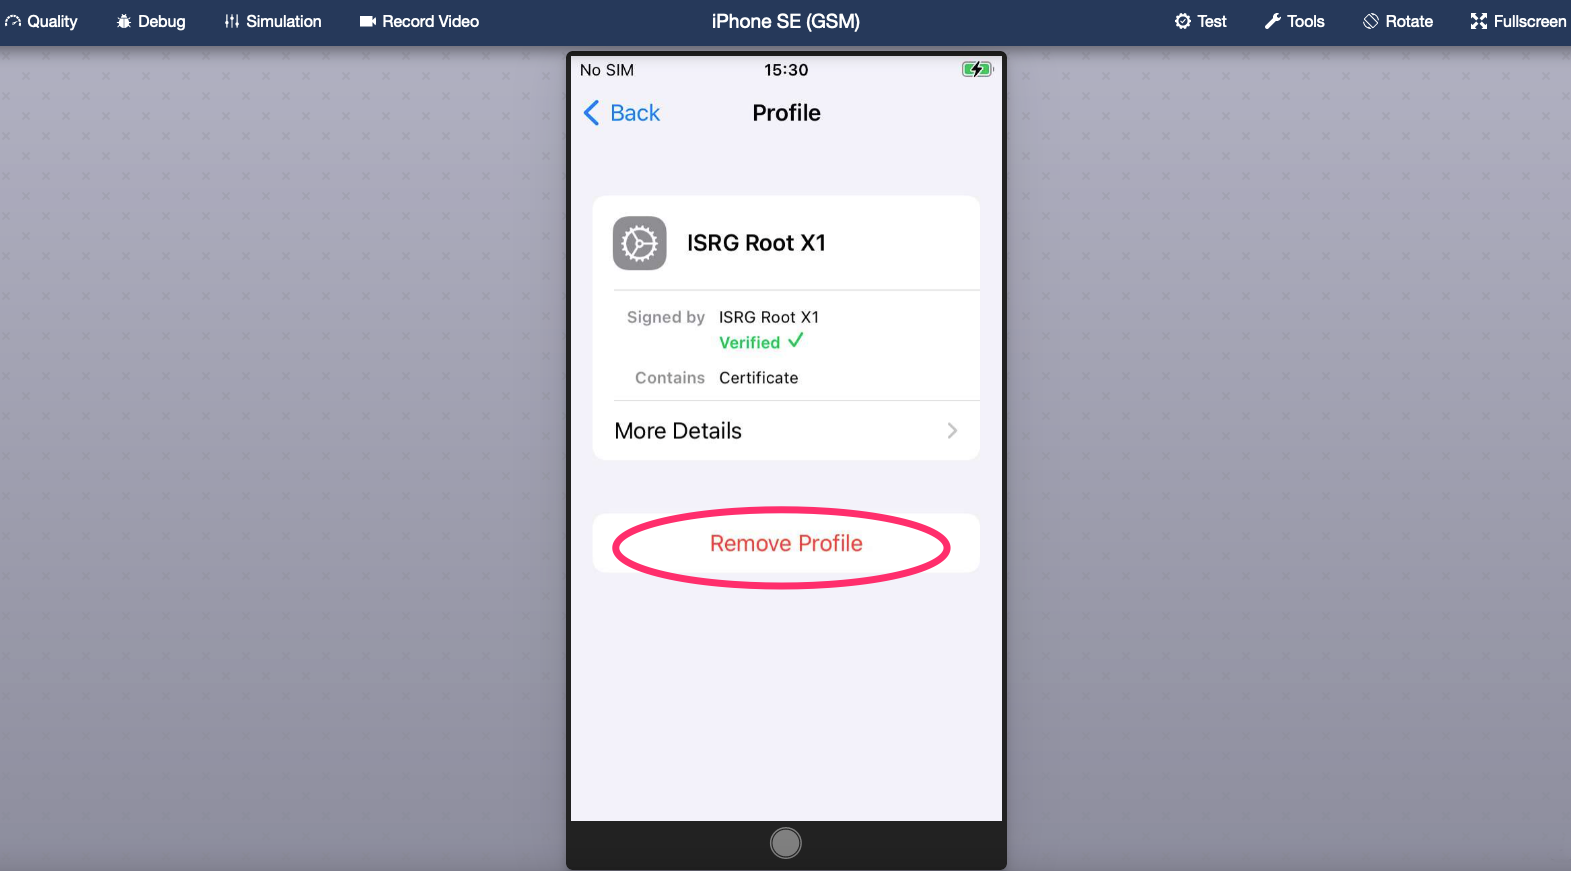
Make sure that you selected the correct certificate. Tap “Remove Profile” and confirm to remove the certificate